When starting to work as a group, it’s essential to share files. There are many ways to do it, like using a shared space, or using a cloud solution and grabbing what you need to work. Whichever you choose, you will need to have backups of everything, and this article focuses on the importance of backup. This applies to individuals too, of course.
In this post we explore two ways to run a python script from Photoshop providing arguments (like the Photoshop file name). Those simple scripts helped us create complex behaviours to process results of Photoshop scripts for the Set department of the feature film Dilili in Paris or in our recent project for the Lodève Museum. The background artists could work in Photoshop and start those procedures without exciting software. Using such scripts to push previews to the production manager software, moving files, starting a blender playblast to get a preview of the updated scene, etc. Saving a lot of time.
This article is part of a series on the making of the museum of Lodève.
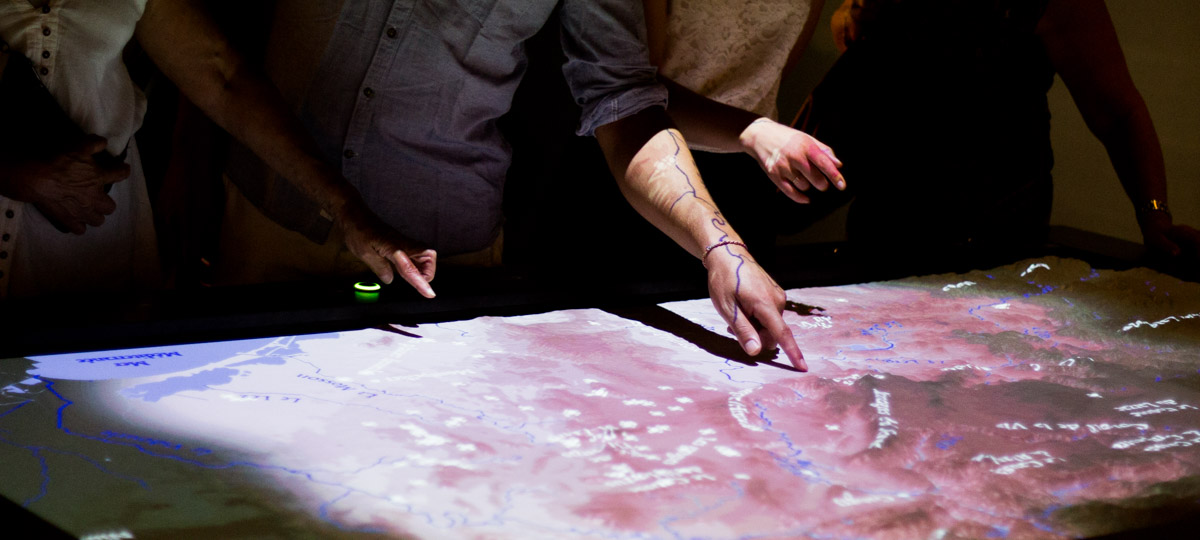
For Lodève’s museum, we worked on many different aspects, short animation movies, cartographic video projections and 3D scans of fossils such as spoors or bones. For the latter, one topic of particular interest was the recreation of a 3D book of stratigraphic layers, such that you can turn and see the trace on the front, and the inverse trace on the back of each page.
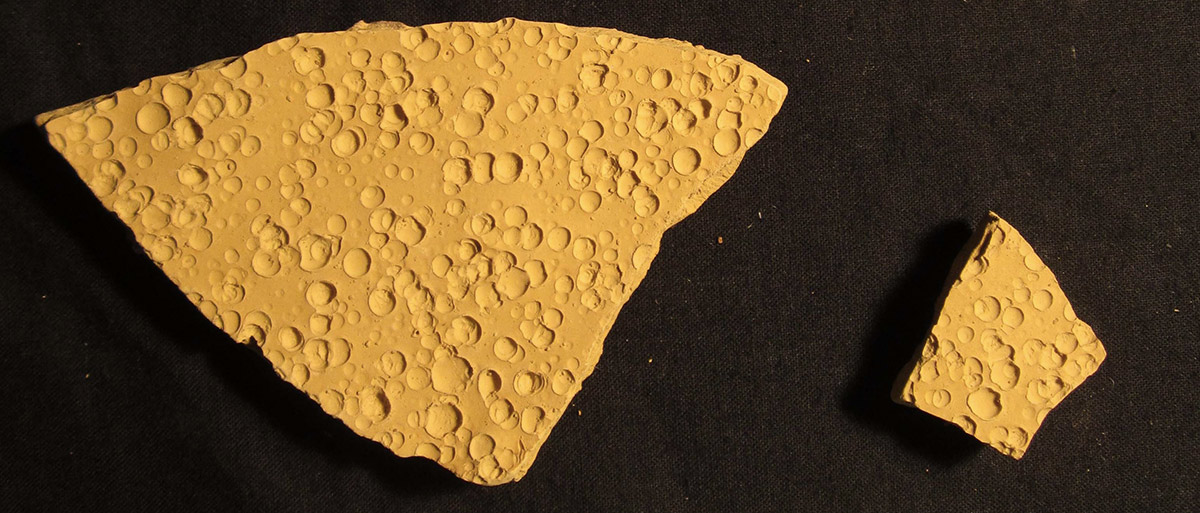
In this article, we will explain how we have reproduced the double page for the fossil rain. The book is only meant to be educational, so we were allowed to recreate a surface with rain drop craters which were too small to be scanned with our equipment.

When dealing with shots, it’s important to get a continuity check. It means the ability to see those shots together to preview them as a sequence.
It can happen at any time during the whole process, from the layout (to check if a shot’s framing and timing are working well within the sequence) or during the animation (to check if the motion continuity and rhythm work), to the compositing (to check if the colours or effects match between shots).
We could use our favourite video editing software (from Blender VSE to Premiere, Avid, etc.), or dedicated software like DaVinci Resolve or the expensive Nuke Studio. But you might not have a license or you might want something lighter than opening such a big app, looking for the project and loading it. For that, big studios often have their own sequence player or rely on an extensive use of Tweak’s RV, an expensive but powerful video player. Let’s see what we can do with free software.
This article is not technical, it’s about the process to find a solution.
This article is part of a series on the making of the museum of Lodève. In the movies, there were scenes taking place in caves or at dusk. So we had to create a fire effect, with a cartoon render to suit the art direction, and that could have a torch-like movement.
We have tested many techniques in Blender or Fusion:
– mesh displacement,
– 2D texture with UV distorsions,
– particules with metaballs
– mask particules
– alpha additive particules
This exploration allowed us to find the most efficient ways of making fire according to the case, knowing that Blender was our main tool from layout to lighting, except for the compositing where Fusion was used.
As you may have heard, we at Les Fées Spéciales have been using cutout animation techniques extensively on our previous projects. Some aspects are explored in other articles, but the film layout is one of particular interest to us. A problem commonly encountered during layout of a 2D film is that of getting nice and smooth camera movements when your camera is zooming and panning, that is, rotating about its center.
This article demonstrates a camera setup we created to solve this problem.
In january 2017 we started working on the ambitious reopening of the Musée de Lodève, Lodève’s museum, a small town in the south of France. The project was already years in the making, and we jumped onboard to create more than an hour of movies for the three main themes: Geology (540 millions years of life and tectonics), Archaeology and Beaux-Arts (fine arts). In the near future we will be releasing some tools and making of made for that production. In the meantime, allow us to introduce the project and the grand opening which took place early July. Nothing technical for now, but the production background of that project which took us so much energy.

This article is available in French on the studio’s website / Cet article est disponible en français sur le site web du studio.
If you’ve ever found yourself in a situation where you had to correctly place a background reference image in Blender, as we have, you may have felt frustrated by the limited controls offered by the Background Images panel. We couldn’t find an add-on to facilitate the process of correctly placing images, so we wrote one. It uses controls close to Blender’s own transformation tools (Grab, Rotate, Scale, etc.). You can move multiple images at once, rotate and scale around the 3D Cursor, or around each background image’s center.
You can download and test it right now on our GitHub repo.
Art © David Revoy 2009, licensed under the Creative Commons Attribution 3.0 Unported license
One of the stated missions of Les Fées Spéciales is to publish as much of the code we use in production as possible. Publishing these scripts and programs falls under the copyrights laws—or author’s rights laws in our case, since we operate in France, a country under a civil law system.
In order for the community to use these scripts, the scripts need to carry a software license. Writing an overview of the history and inner workings of software license, and free software in particular, is way beyond the scope of this article, however it seems useful to remind scripters what they may do with their scripts, should they choose to publish them, particularly in the context of Blender scripts.
Dear Visitor, the Technical Department wish you a happy new year!
And this incoming year is a very exciting for a lot of reasons!
Let’s start in terms of projects for us. Next October will be released the feature film Dilili in Paris for which we worked hard for the past two years. Hopefully you will see it in festivals before then. And you’ll have more articles about that production soon.
This summer will be seen the opening of a very nice archeology and geology museum. The museum is located in Lodève, next to Montpellier in France. We are currently creating more than 45 minutes of animation, interactive programs, and multiple 3D reconstructions for the museum. It’s improving a lot our tools, methods and pipeline and we will share more on that too, later this year.
And we have other nice projects. So we are very busy, but we have a lot of things to share along those works, so stay tuned.
But it’s not only about us, it’s about huge releases in free software too!
When rigging, you usually want to add custom shapes to your bone controllers. It helps to simplify the selection of these bones and moreover it gives information to help the animator to understand quickly what a bone can do. In Blender, the default procedure can be really tedious so we have created a script to help handle adding and editing custom shapes to bones.
In a previous article we shared our way of organizing the files. In this one, we’ll introduce you to the use of a simple python library called Lucidity, very useful to start handling your project naming conventions. The aim is to quickly check if your file paths are correct, or build paths from a set of variables, without coding your own parser.
We attended the 15th Blender Conference and it was a blast! Every year we gather so much energy and ideas during those 4 days. Kudos to the organizers for this hard work. And this year we were invited to present part of our work on the feature film Dilili in Paris.
Damien took 20 minutes to present the solutions we had to develop to handle this 90 minutes feature film. And more particularly, the creation of the 500 characters needed to populate the early 19th century Paris. Those characters were built using an old cut-out technique, like flat paper puppets but in a digital process. For more explanations, we’ll let you watch the talk, for which we were kindly authorized to show the very first shots of the movie, which is yet to be released in October 2018.
We will go back more in detail on the processes and other solutions we deployed in upcoming posts. Stay tuned!
We thought me might share thoughts around our file organization. Of course there are plenty of ways of organizing your work, and this is one of them. But it’s simple and complete enough to fit many animation projects. Before describing it we will start with generic tips and thoughts.

For one of our projects we had to handle 1300 shots, using 600+ different 2D backgrounds. Those sets were composed from one to more than 100 layers (underlays —e.g. buildings—, overlays—trees in front of the characters—, skies,…), annoying to handle and set properly in Blender. So we created a small add-on called Camera Plane.